

How Compression Affects Timeline Performance
April 26, 2019

–
–
–
–
When it comes to editing, you want to do everything you can to prevent your workflow or machine from coming between you and your creativity. This efficiency between thought and action is crucial for ensuring you capture your true vision on the screen. Ok so you’ve taken the time to make sure you’ve optimized your workflow and your computer works fine, what else could there be to do? Hold up there cowboy: there are still some pretty big, yet widely unknown aspects of your footage that may be bottlenecking your process without you even realizing it.
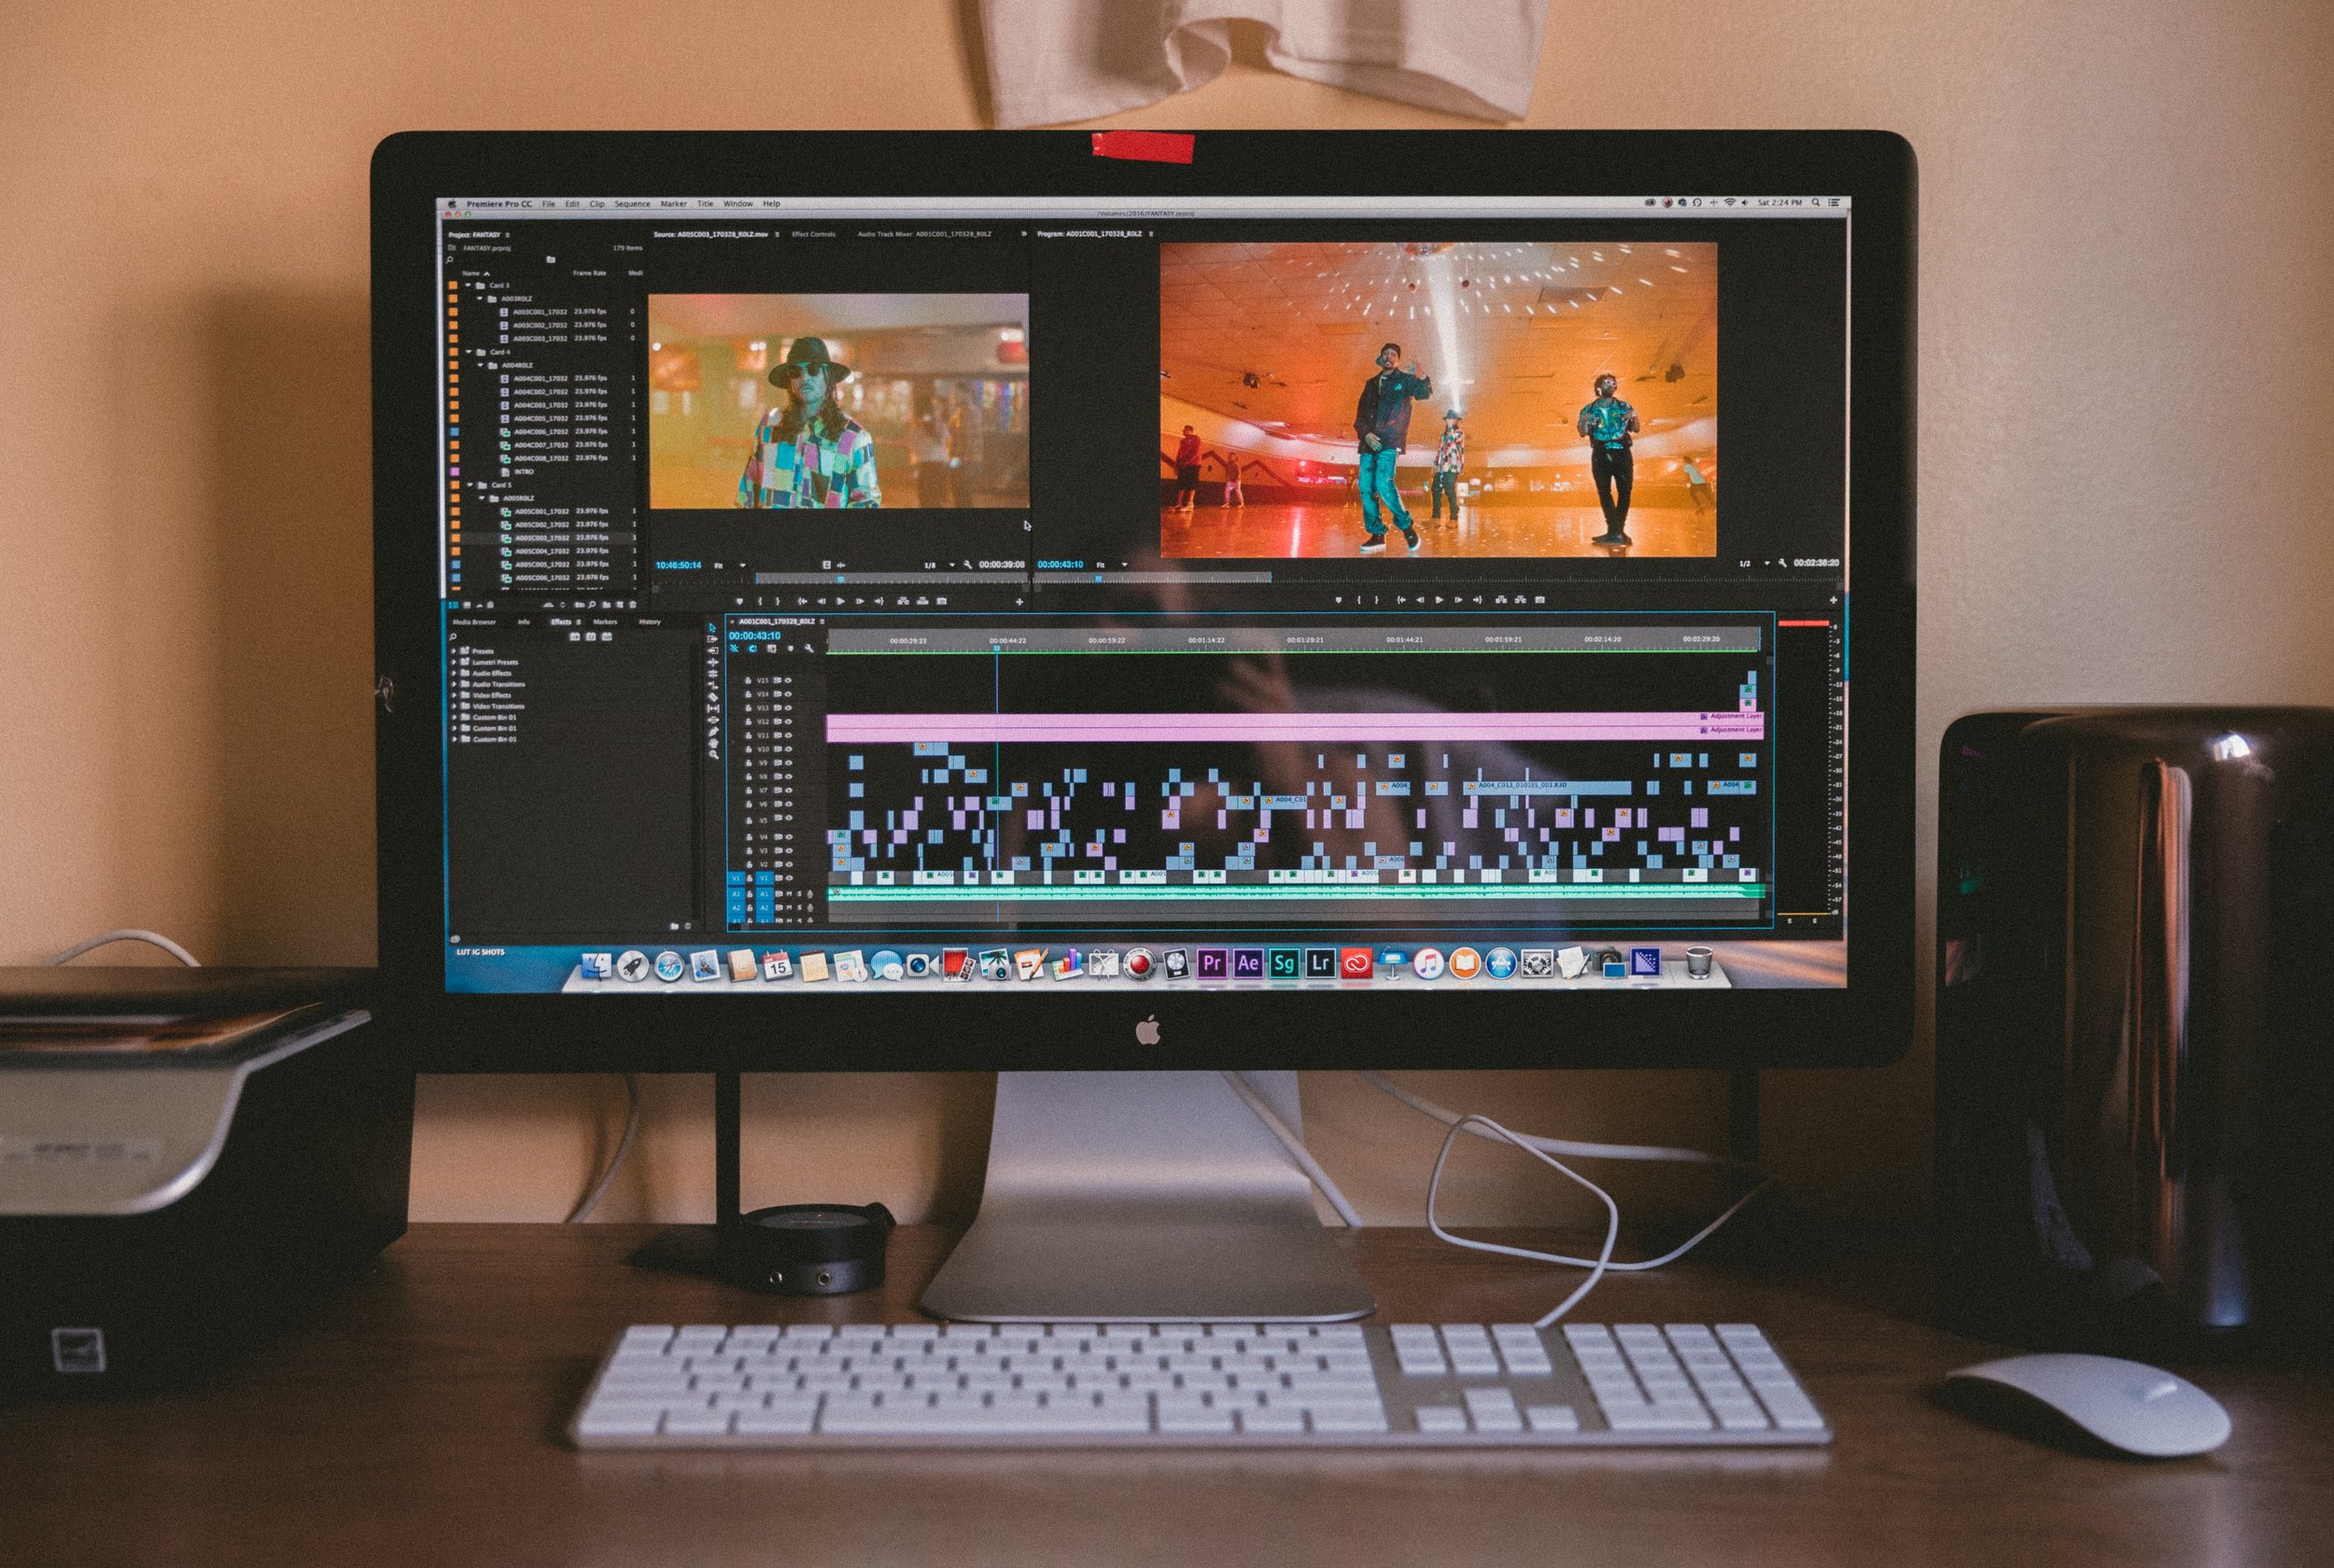
As a post house, we have a lot of footage moving though our machines every day of the week, so it’s important that we’re optimizing performance at every possible junction. As a rough cutter, I’ll often begin my project setup with goodhearted and warm feelings when I notice that the footage is 1080p, 24 fps. Smooth sailing right? Heh, well uhh, wrong. As I fast forward, rewind, and move the playhead manually, my machine crawls slower than a June bug stuck in molasses in the middle of winter. Why would such innocuous footage bring my machine to its knees?
There is a dizzying amount of considerations to take into account when talking about slow NLE performance, but the compression method used within the footage is one that usually flies under the radar.
Compression
Compression is a method of slimming down files to save on space. Re-using redundant visual information allows compressed video to save on hard drive space, while retaining a usually good level of visual fidelity. There are two major types of compression, intra and inter.
INTRA: Each frame is compressed individually. Based on their surrounding values, redundant pixels within the image are combined to save space. Think of a uniform blue sky. Why process every blue pixel individually when you can reuse the first instance of it?
INTER: Each frame is compressed based on the previous frame, if your first and second frame both contain a white cloud, then it’s likely that some visual data will be carried over from the first frame and used in the second. This method usually results in smaller files. However, this also means that to view the last image, you must also reference the first image as is contains some of the information being carried over through the sequence of frames all the way to the end. This makes rewinding especially difficult because video files are only compressed one way and your CPU is essentially tearing it apart backwards in order to view the files.
On otherwise typical footage, we notice the most sluggish playback when inter frame compression has been used. Playing at normal speed is not a problem, but fast manipulation of the timeline, and especially rewinding, can be a frustrating exercise.
Some DSLRs allow the user to decide which method of compression to use, either all I-frame (intra) or IPB/GOP (inter). Depending on your loadout, adjusting these settings before a shoot can come in handy when it comes time to enter the editing bay. Generally, if you have a lot of CPU horsepower, we’d recommend you stick with inter-frame compression. But if you’re working from a laptop or your workstation is getting long in the tooth, look into intra-frame, as buying a couple extra drives to accommodate lightly compressed files is usually a lot cheaper than workstation component upgrades.
TL;DR
INTER
- Film in IPB/GOP codecs
- Takes up less storage space
- Results in most sluggish playback speeds
- Best for workstations with high CPU
INTRA
- Film in I-frame codec
- Requires more storage space
- Best for laptop/older workstations
CPU is the main factor in decompressing (GPU doesn’t typically help much) so when you’re playing back highly compressed footage, your CPU is pulling each frame apart and uncompressing the files so you can view them. So, if your machine with over 16 GB of ram and a burly GPU is struggling with H.264 media (and you’re properly delegating your hard drives), there isn’t a ton you can do at this point in the process without a hardware upgrade. Other than….
Transcoding/Proxies
There are a lot of proxy options. Some are still highly compressed, and in the interest of allowing our CPU to offload as much work as possible, we typically opt for GoPro Cineform.
Proxies in Cineform can be a lifesaver. We typically make proxies for any 4K and higher resolution footage. Cineform is lightly compressed (less work for the CPU) and GPU accelerated. This allows our CPU to cruise through footage, forwards, backwards, upside down, and inside out. Alongside that, GPU acceleration allows our graphics cards to step in and help out when needed. The only drawback of using these uncompressed formats is file size. Cineform regularly doubles the size of files compared to H.264, but with proxies being much lower resolution, they usually don’t result in massive files.
Unless you have an absolutely cutting edge machine, proxy workflows are crucial for anyone that plans on working with 4k+ footage. Look forward to some in depth coverage on our Ask The Editor series soon.
Taking a look under the hood of your video files can be a serious rabbit hole. Wrappers, codecs, I frame, long GOP :S . There are a dizzying number of factors that impact timeline performance, factors that we’re looking to break down further in the future; but hopefully we helped clear this one up.