
Top 5 Adobe Premiere Keyboard Shortcuts
May 29, 2019

–
–
–
–
It’s no exaggeration to say that Adobe Premiere Pro CC is an insanely deep and intricate program with nearly innumerable attributes and workspaces. For as long as I’ve been editing on Premiere, there are still times where I happen upon unknown features and tools. I’ve discovered some of my most-used Premiere Pro features by accidentally pressing a combination of keys that I hadn’t previously pressed.
That being said, one of the best ways to speed up your editing time is to incorporate the use of keyboard shortcuts into your workflow. It’s easy to overlook how much time each mouse movement, each click, and each menu navigation actually adds to your overall time editing a project. That’s why implementing keyboard shortcuts for every repeatable command is critical for video editors to stay on-time and on-budget.
Before digging into our top 5 recommended Adobe Premiere Keyboard Shortcuts, it’s important to delineate how you customize the keyboard for your best usage:
KEYBOARD CUSTOMIZATION
To locate Premiere Pro’s keyboard customization feature:
- Highlight “Premiere Pro” in the navigation bar
- Select “Keyboard Shortcuts’“
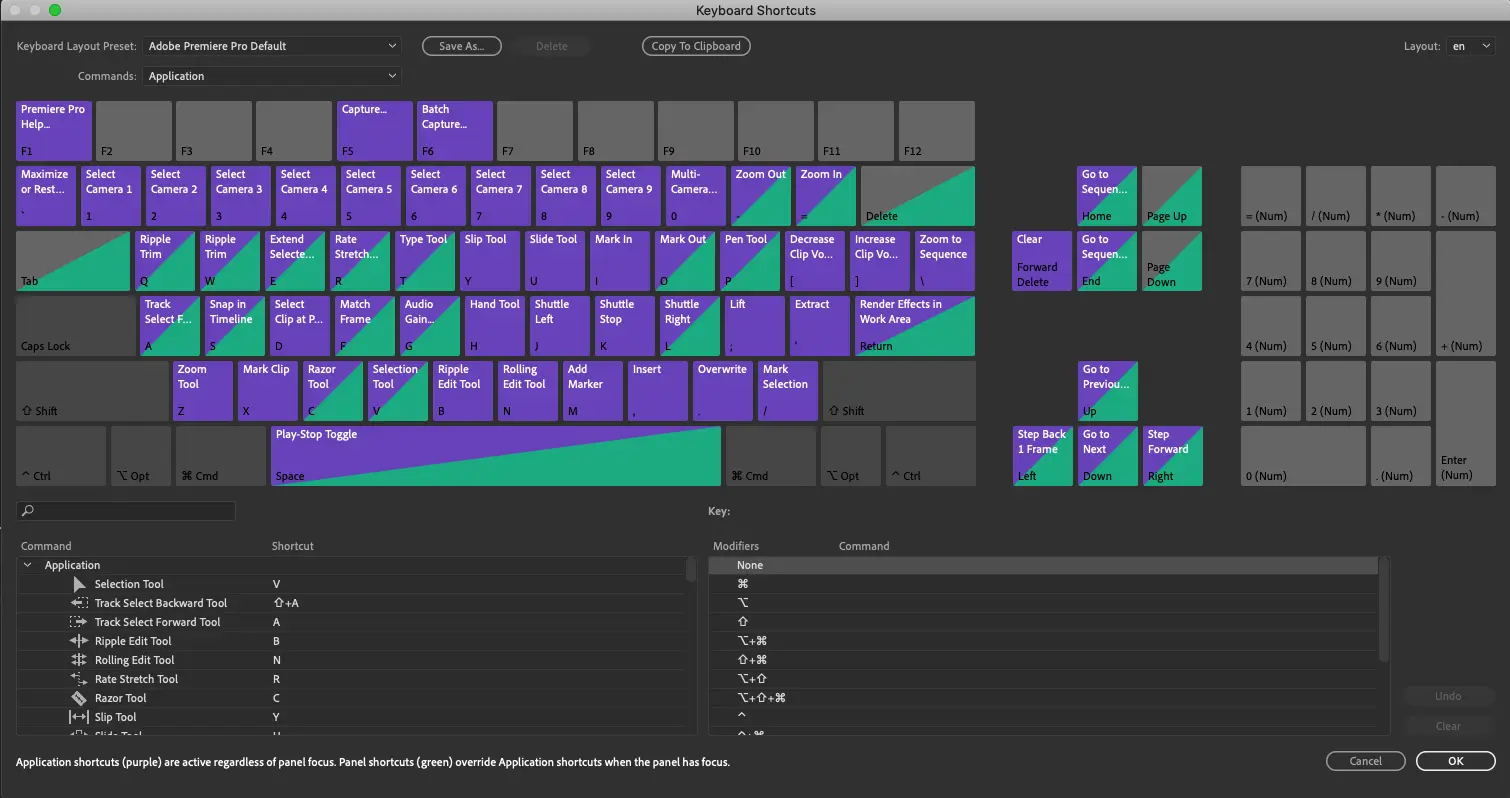
In this window, you’ll see several drop downs, a diagram of the keyboard, and a few menus:
- Keyboard Layout Preset dropdown: select from pre-made keyboard layouts or your own saved layouts
- Commands dropdown: changes the view of which workspace panel the keyboard diagram below refers to
- Keyboard Diagram: click each key to view its assigned commands in the lower right corner, hover to view a list of commands as a tool tip, click modifier keys to view associated keyboard shortcuts
- Purple keys represent shortcuts that apply throughout the whole Premiere application
- Green keys represent shortcuts that are specific to Panels within Premiere
- Keys with both purple and green represent keys that have both Panel and Application commands
- Search bar and table: type in either tool names, commands, or letters/numbers to reveal related keyboard shortcuts below
- Key table: shows what commands modifier keys link to when combined with a key clicked on the keyboard diagram
To modify the keyboard:
- Locate the tool or shortcut you want to modify by using the search bar in the bottom left
- Highlight the item under the “Command” column you want to modify
- If no keyboard shortcut is listed under the “Shortcut” column, click once and then type the hotkey/combination of keys you want to assign that Command
- If a keyboard shortcut is already listed next to your selected Command, you can either:
- Add an another keyboard shortcut combination by clicking to the right of existing keyboard shortcuts and typing the hotkey/combination of keys you want to assign that Command
- Remove the existing keyboard shortcut combinations by hitting the small “x” within the box of that hotkey/combination of keys
Once you’ve made the modifications to the keyboard shortcuts, you can create a Custom layout by selecting “Save As”at the top of the window. Type in a recognizable name for the layout you’ve created and hit “OK.” If you save it as an existing Custom layout, Premiere will overwrite the previous layout. This is how you can best make modifications to your favorite keyboard as you find new keyboard shortcuts to improve your workflow.
Now that we’ve got all of that out of the way, here are our top 5 recommended Adobe Premiere Keyboard Shortcuts:
1. CUT ALL TRACKS
If you’ve got multiple angles of footage stacked on top of one another – on synced multicam sequences for example – it can be helpful to make a cut that goes through all of the footage and audio tracks. Doing this often comes in handy when you need to select a specific section of multicam footage in order to work it into your edit, and you’d like to do so without affecting the rest of the footage on the Timeline.
To do this, position the Playhead on the Timeline where you’d like to make your first cut and press alt+command+K to make a cut that spans through all tracks.
Note that locked tracks will not be affected.
Note that this will not affect any footage or audio that is located on a locked track. This can be helpful in instances where you want to cut your angles/audio without affecting your music.

2. TRACK SELECT FORWARD TOOL
This tool is helpful if you’re looking to move a large portion of your media on the Timeline. The Track Select Forward Tool offers a safe and secure way to move many assets while preserving their placement in relation to one another – as opposed to drawing a marquee box around the items and then clicking and dragging them down the Timeline.
Enable the Track Select Forward Tool and click the first clip that you want moved on the Timeline. You’ll see that all clips to the right of that clip (including the one you clicked) are now highlighted.
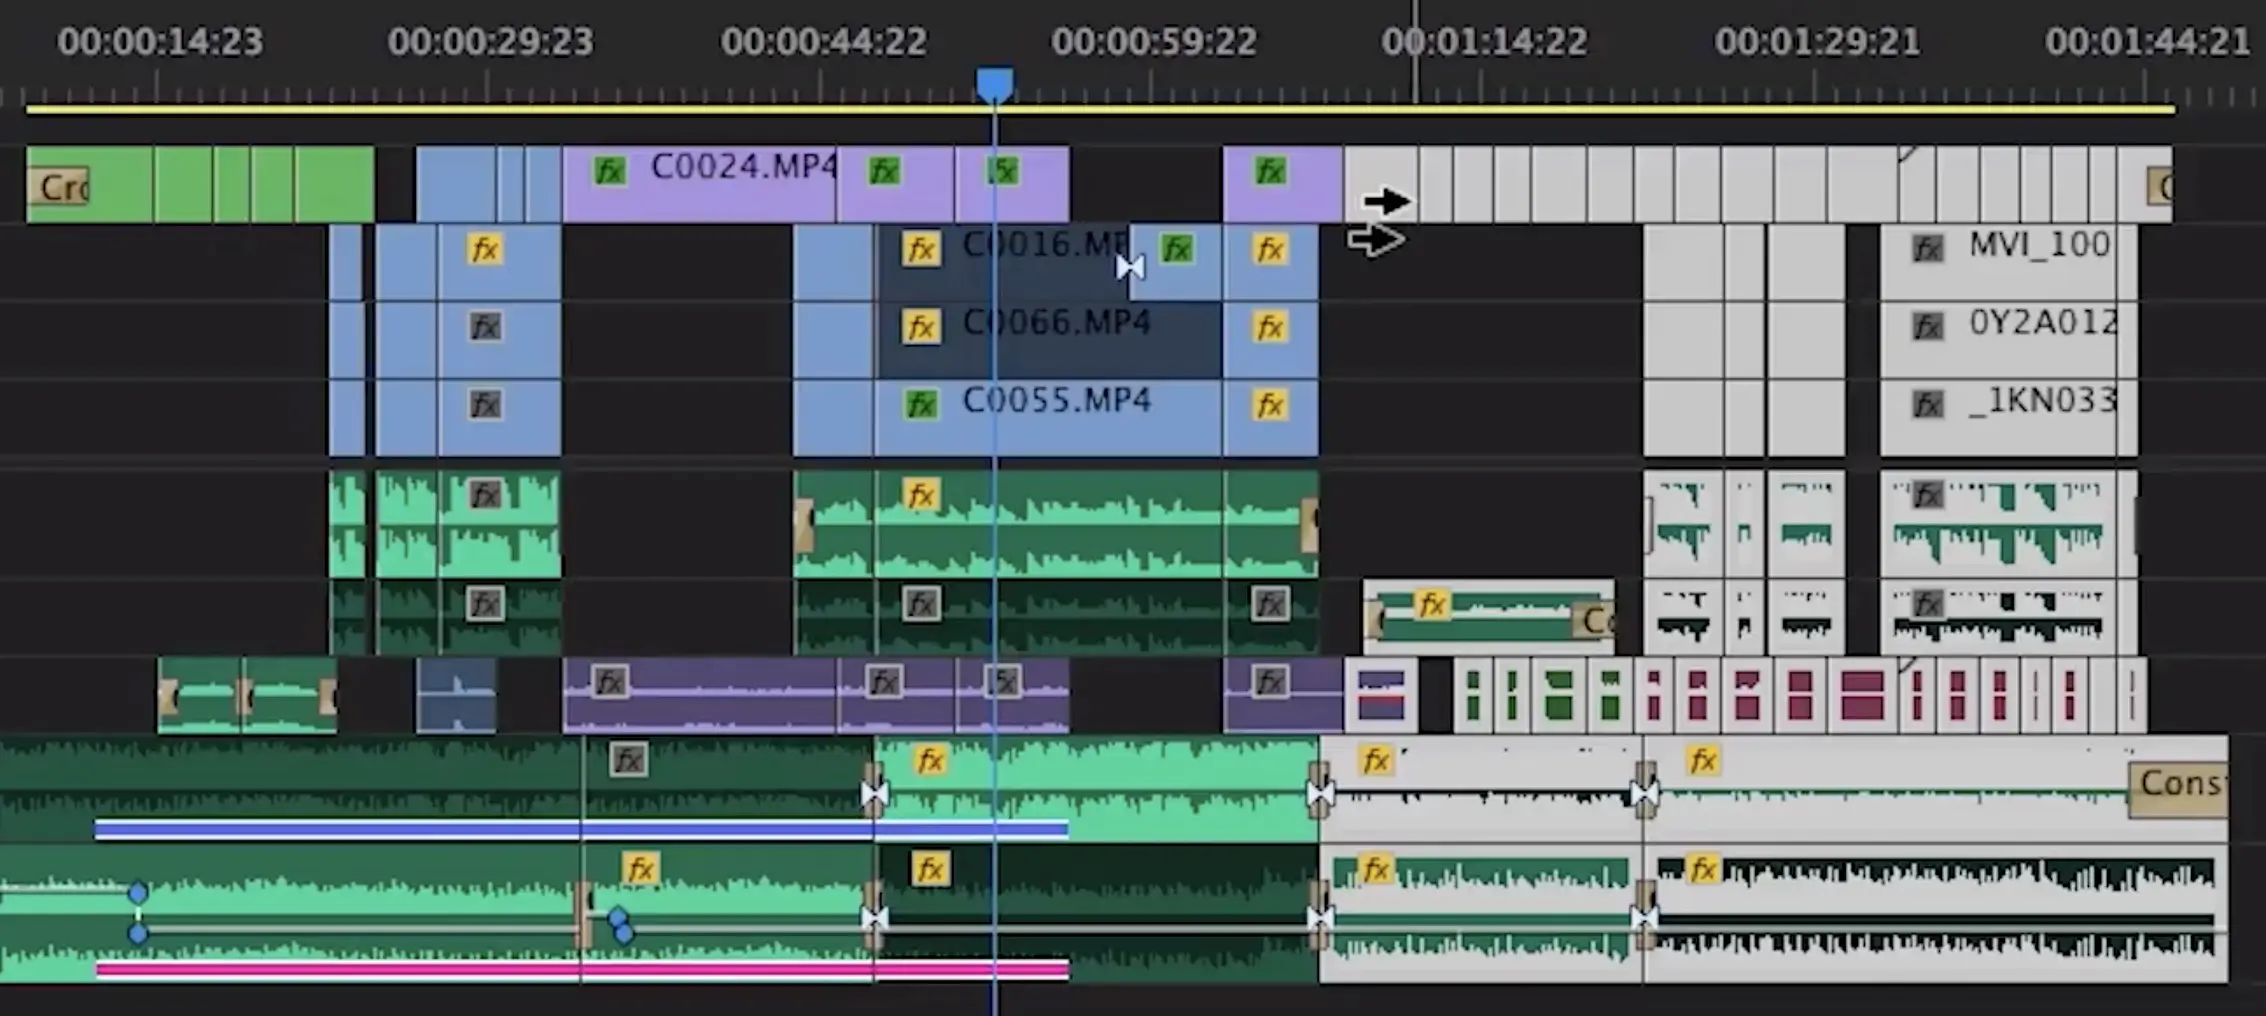
The clip you click and all the clips to the right will be selected.
This tool, however, will not move any assets located on a “locked” track. This is a helpful technique to apply when you want to leave music in-place, but move all other video and audio assets together on the Timeline.
The default keyboard shortcut for this tool when using Adobe Premiere Pro Default keyboard layout is simply A. However, we’ve chosen to modify this command on our Archaius Creative keyboard layout to T. This is easier for us to remember since it’s the first letter of the tool. We then designated A as the keyboard shortcut to switch to the default cursor – what Premiere calls the “Selection Tool.”
3. SLIP TOOL
If you’ve got your pacing just right for a sequence, but want to finesse the segment of footage that’s seen in a clip, the Slip Tool is a great go-to solution. By default, the keyboard shortcut for the Slip Tool is Y.
When using the Slip Tool, it’s helpful if you think of the clip on the Timeline as a window. By clicking and dragging on the clip, you can shift which portion of the footage is visible through that clip window. The Program Panel will display the beginning and ending frames of the portion of the clip that will be displayed.
You can think of the clip as a window through which you’re viewing your footage.
Use this tool to make fine-tuning adjustments if you notice slight shake, blur, or other undesirable contents at the beginning or end of a clip.
4. ROLLING EDIT TOOL
A close relative to the Slip Tool is the Rolling Edit Tool.
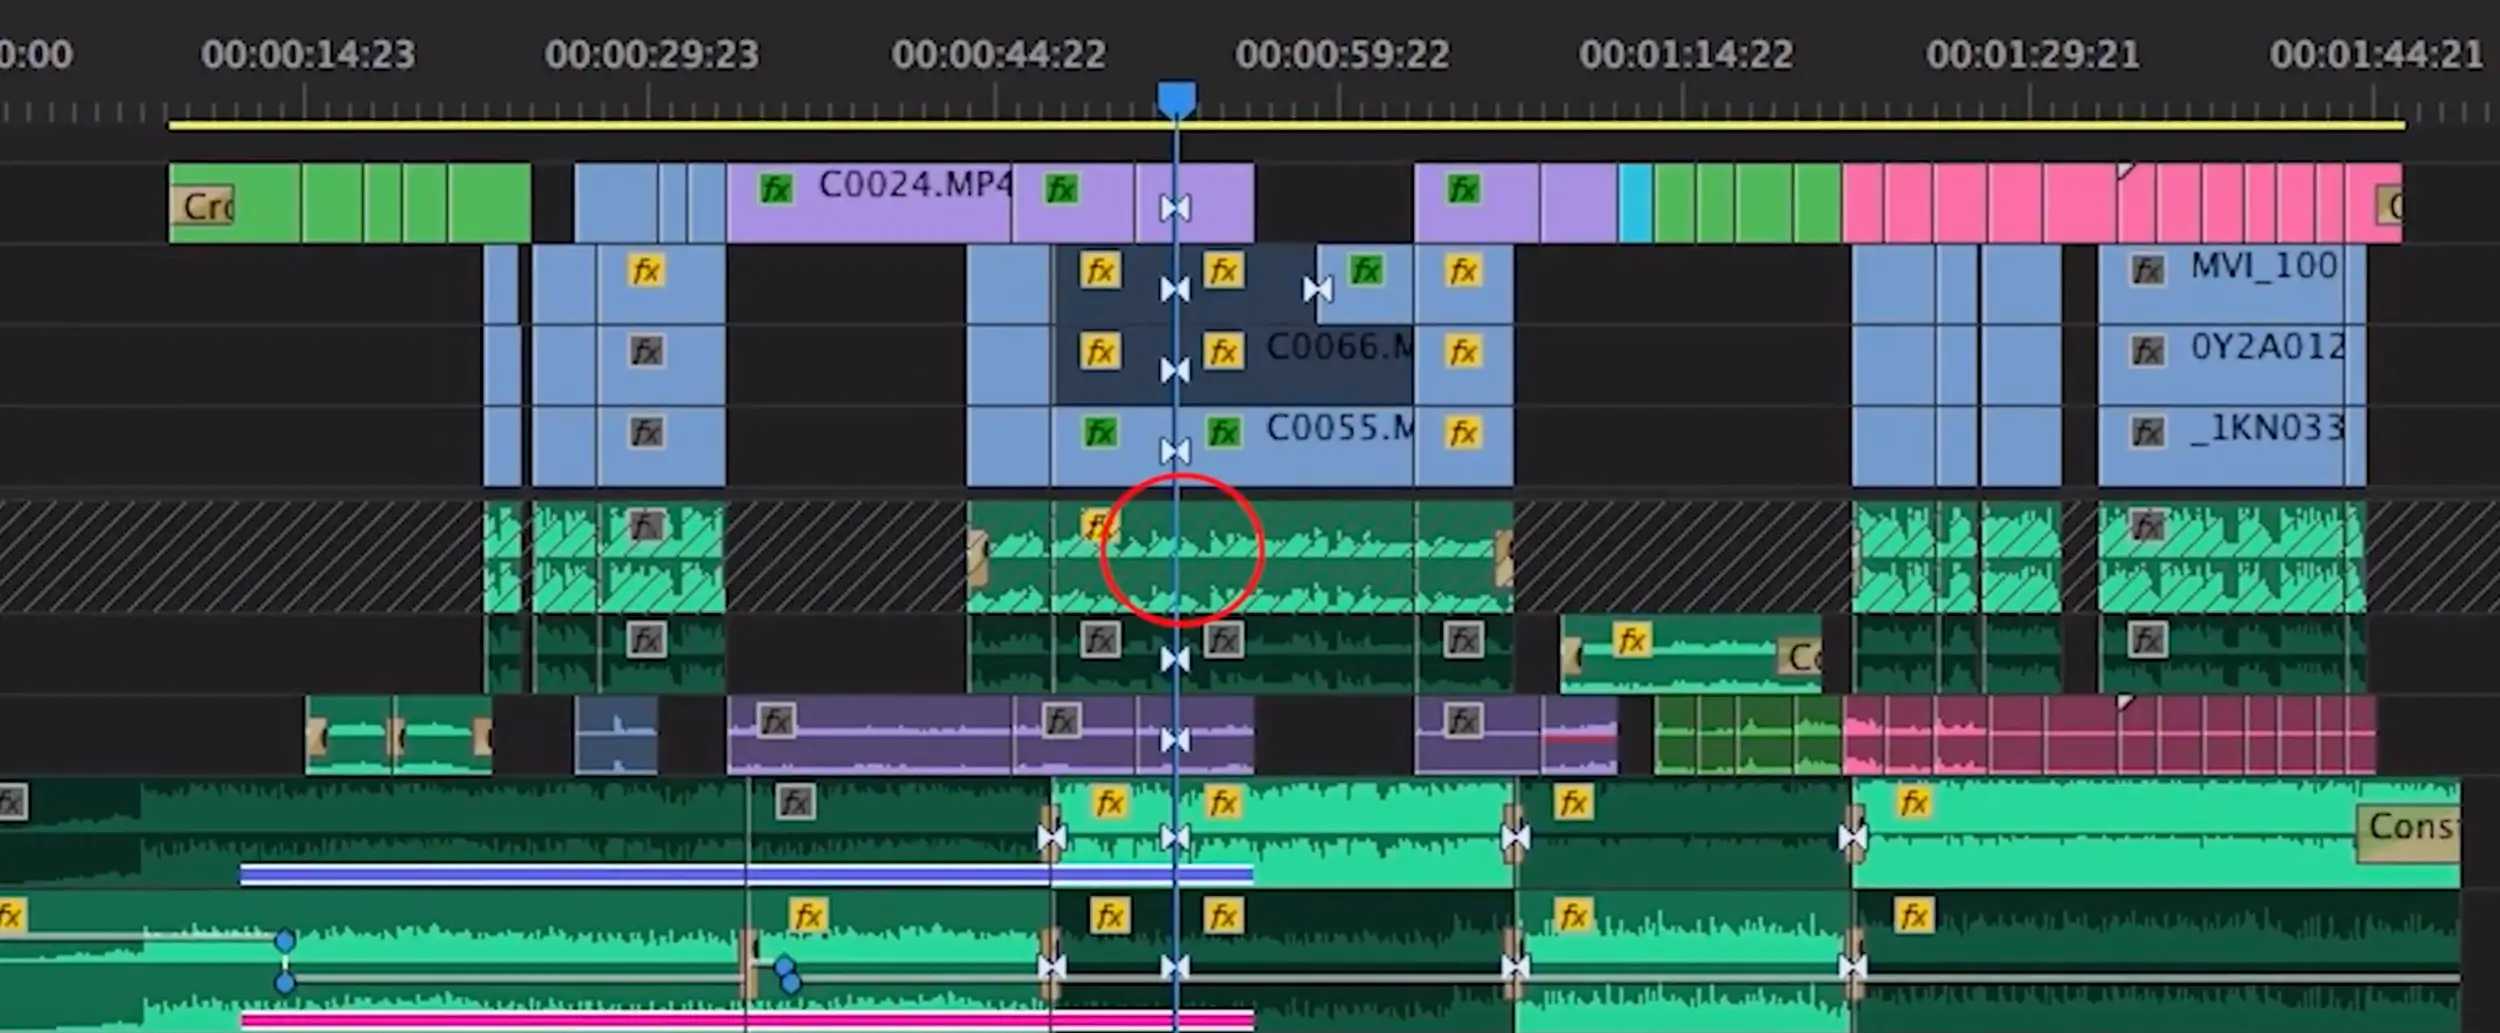
Let’s say you’ve got your clips in-order, but the pacing feels like it could use a couple tweaks here and there. Using Premiere’s Default keyboard layout, press N to switch to the Rolling Edit Tool. Now when you hover over a cut between two clips on the Timeline, you’ll see the cursor turn red. You can now click and drag the cut point between the clips in order to shorten one and lengthen the other.
When using this tool, you’ll see the Program Panel switch to show to the last frame of the clip on the “A side” of the cut, and first frame of the clip on the “B side” of the cut.
A helpful tip for when using this tool is to disable “Snapping” (S) so that you can make the most accurate changes to the cut.

The Program Panel will display the last frame of the clip on the “A side” of the cut, and first frame of the clip on the “B side” of the cut.
5. PASTE ATTRIBUTES
A quick workflow technique that will drastically speed up your time making the same adjustment over and over again is Paste Attributes. This can be especially helpful during color grading or making crop/reframe adjustments to A-Roll footage that was captured on a tripod.
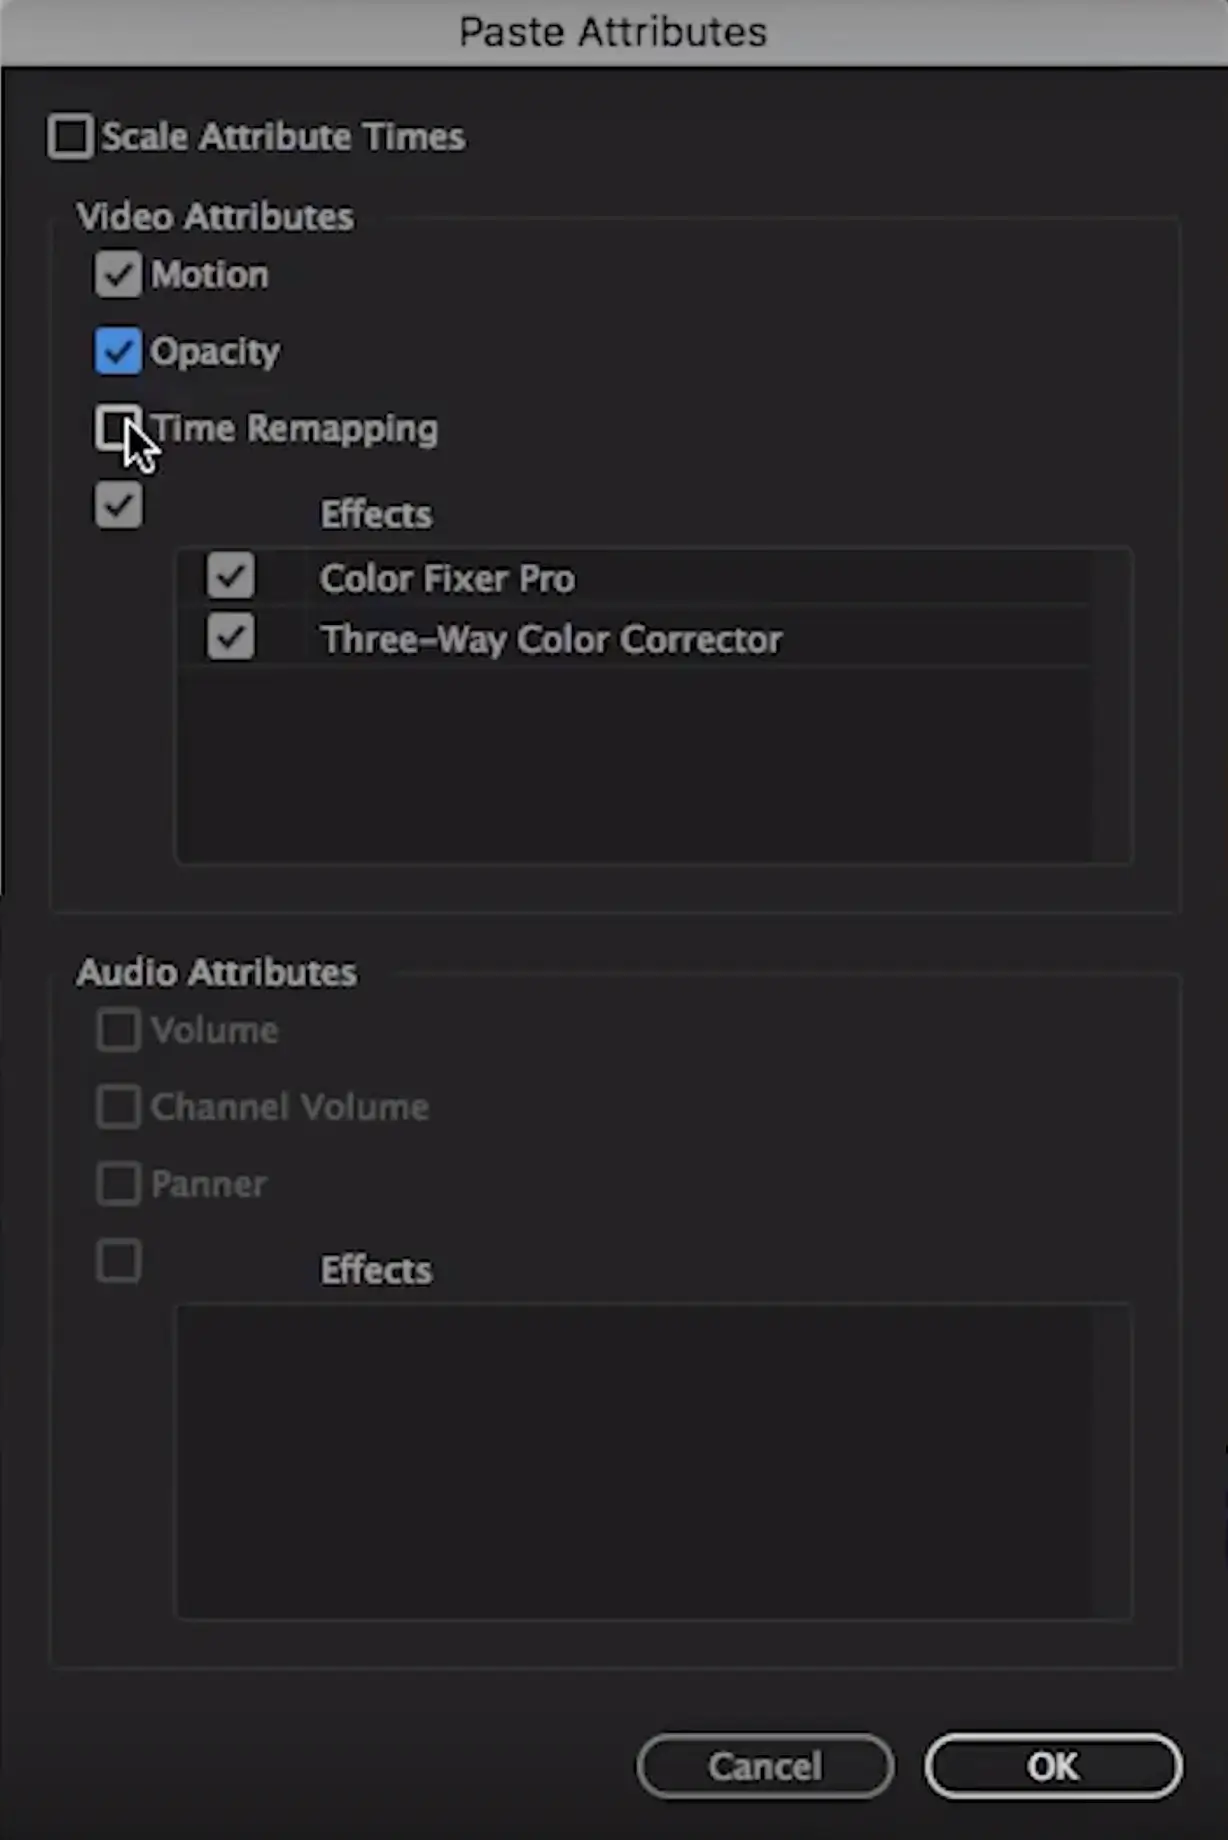
First, Copy the clip (command+C) with the modifications that you want applied to other clips. Next, highlight the clips that you want the modification applied to and press Command+Option+V to bring up the Paste Attributes window. In this window, simply check the box(es) next to the attribute(s) you’d like applied and hit “OK.”
One thing to note is that time-sensitive modifications (Warp Stabilizer, keyframed motion, etc) will have mixed results when applied to clips of varying lengths.
If you ever move workstations or have to wipe your computer, it’s helpful to know where the custom keyboard layout files live on your machine:
MOVING YOUR CUSTOMIZED KEYBOARDS
If you’d like to move your keyboard shortcut layout to a new computer and haven’t set up Premiere’s Sync Settings, you can locate your custom layouts by following the folder trees below (unless you’ve modified where Premiere’s settings are stored):
MAC

Documents > Adobe > Premiere Pro > 13.0 > Profile > Mac
PC
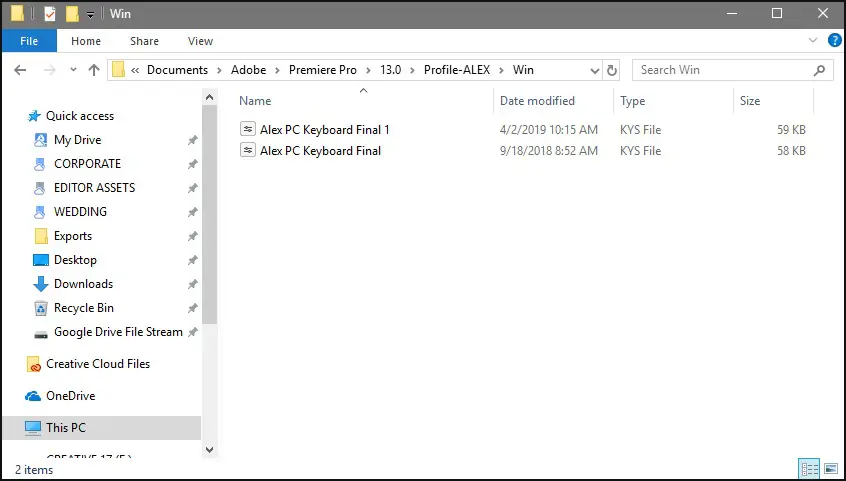
Documents > Adobe > Premiere Pro > 13.0 > Profile > Win
Wrapping Up
Learning to master Adobe Premiere keyboard shortcuts can help you push into a new level of comfort within the program and allow you to get out of your own way. Nothing hampers creativity quite like a long disruption in flow as you try to figure how to do something. By using the keyboard shortcuts mentioned above, you can move through the program at the speed of your brain, allowing your creativity to flourish. Hopefully, you find these useful for knocking out your next edit with more creativity and efficiency.
Got your own favorite keyboard shortcut? Let us know!
Wanna learn more? Let’s chat!